In a Website
In this Article:
1: Add Display Widget
Add the following code to the <HEAD> of your webpage, replacing the apiKey values as required.
You can find your API Key by logging into your ECAL Admin and navigating to the “Developers” > “API Keys” menu.
Example Embed Code
<script>
    (function(){
        var s = document.createElement('script');
        s.src = 'https://display.ecal.net/v2/widget.js'+ '?t=' + Date.now();
        document.getElementsByTagName('head')[0].appendChild(s);
    })();
</script>
2: Add the Display HTML to your webpage
Finally, add the ecal-display-widget class and the data-ecal-display-id attribute to the HTML element you would like ECAL widget to render into. Example HTML Code:
<div class='ecal-sync-widget-event' data-ecal-apikey='INSERT_API_KEY' data-ecal-widget-id='INSERT_WIDGET_ID' data-ecal-widget-type='page'></div>
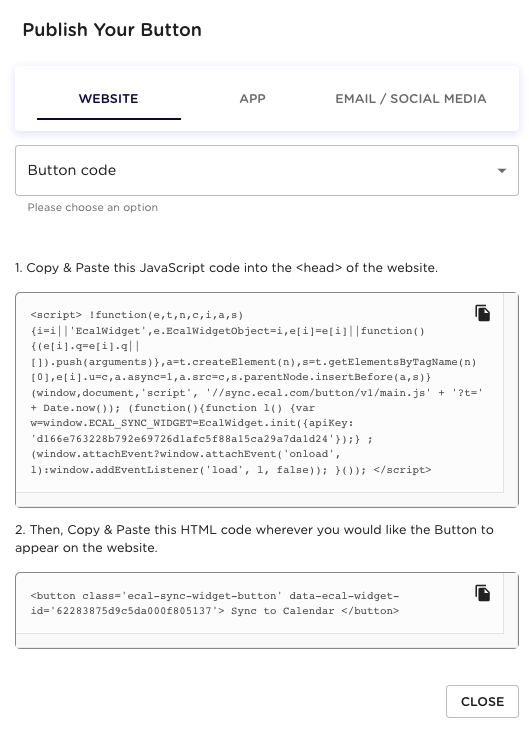
To find your widgetId, edit your display widget in the ECAL Admin. The widgetId is displayed at the bottom of the popup window (see example below).
3: Changing the widget layout
Set the value of data-ecal-widget-type attribute above to render the widget in one these three configurations.
| Value | Description | Dimensions | Preview |
|---|---|---|---|
| page | Events are displayed in a responsive, full-page layout. | Responsive width, 300px minimum width, 100% viewport height | 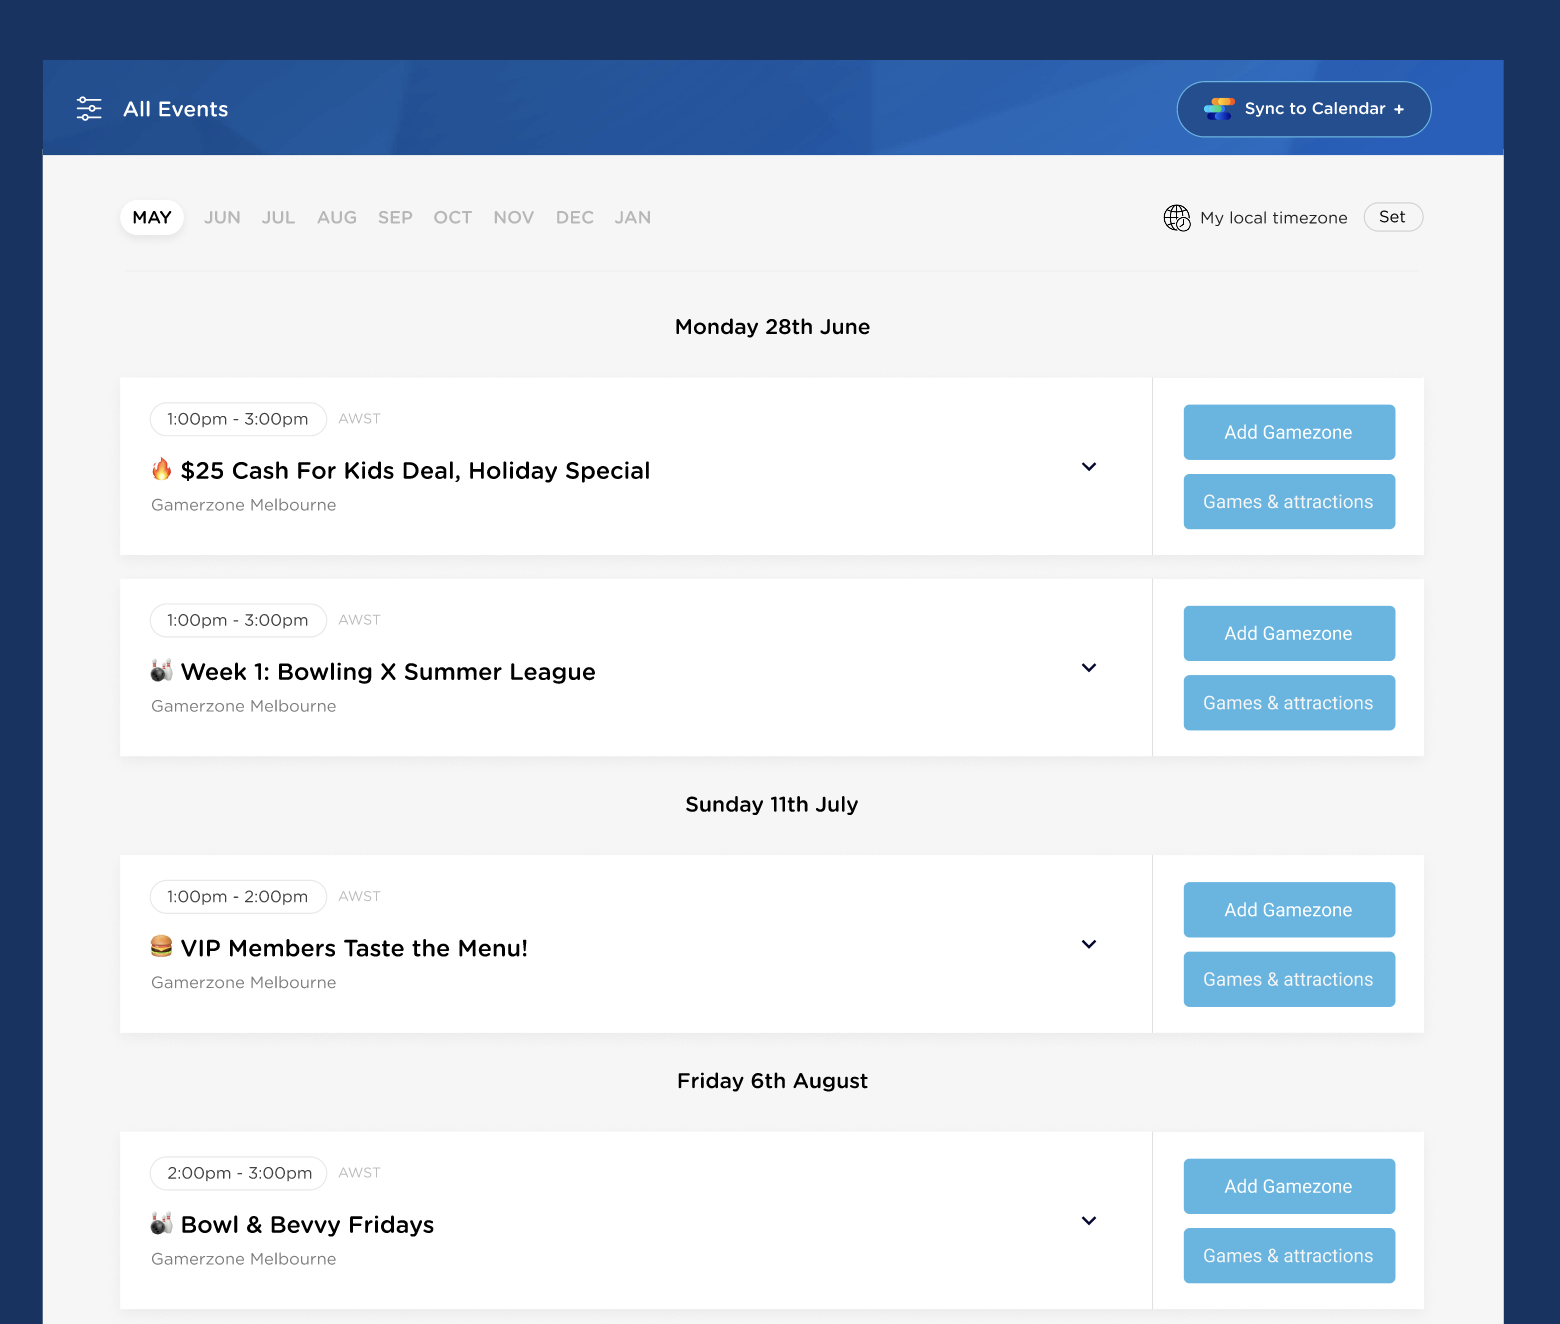 |
| carousel | Events are displayed in a responsive, wide-page layout. | Responsive width, 280px fixed height |  |
| column | Events are displayed in a responsive, heigh-oriented layout. | Responsive width, 300px minimum width, 600px fixed height | 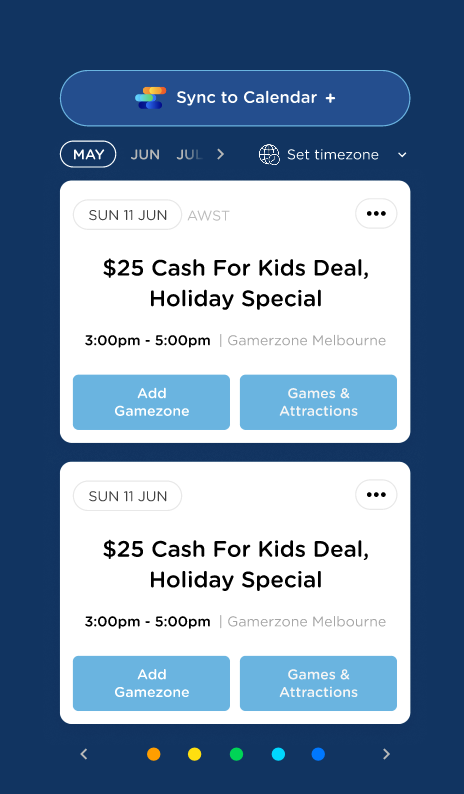 |